With the holiday season quickly approaching, now is the time to
prep and prepare. The first thing I think of when it comes to decorating for
the up and coming season is pine cones. Where I live in New Jersey, there
is not a shortage of pine trees and therefore pine cones. It is usually
around this time of the year - Early to mid-September - that I, along with my
mother and one or all of the kids will go out pine cone hunting.
Taking our time walking through the neighborhood as we try to
pick up the best pine cones, it is one of my favorite time sharing activities
with my family. With double layered grocery bags in hand to hold our
crafting treasures, I find we tend to talk more and catch up on who is doing
what, when, where and why. Oh, don't get me wrong, we know the day to day
stuff that is happening in our lives, but it’s the heart to heart talks that
tend to come out when we set out on our craft hunts. These are the times
when my kids get to really know who mom is and I get to see who they are really
developing into. We laugh and sometimes cry, but it's the perfect time
just to be without the hustle of our daily lives. It's during these times
when my heart is revealed to my children and theirs to me. That's why
it's my favorite time.
So back to the post, Prepping pines cones for crafts.
There are three methods which that are useful based on your crafting
needs. Baking, soaking and bleaching.
How do I wash and prepare pine cones for crafts? I use the last
two methods to wash away all the sap and bugs.
WAIT!!! Before I tell you about prepping your cones for crafts,
if you are using your pine cones for bird feeders you do not have to clean
them...Okay back to prepping.
First the soaking method:
 |
| Soaking pine cones in vinegar and water |
What you need:
- 1 large bucket or a big sink
(such as a 10 gallon , likle the one in most kitchens)
- White Vinegar - 1/2 to
1 cup
- Warm water - Fill the bucket
or sink 3/4 full
Directions:
- Mix the water and vinegar
solution.
- Place the pine cones in the
solution. press them down to ensure they are covered with water, you
may have to place another bucket or heavy object over the cones to get
them to soak properly. Let them soak for a 20 to 30 minutes. Note:
The cones may close up, if you have let the water cool down to much.
- Drain the pine cones from
the water, and place them as a single layer on a tray (you may line them
with newspaper if you wish).
- Let the cones dry for 3 to 4
days before crafting or cutting.
Note: This "soaking" method will kill all bugs and
clean off the sap.
Second method - Baking:

- Preheat oven to 225 degrees
- Line your baking sheet with
foil
- Place pine cones in a single
layer with room to expand on the baking sheet.
- Let them bake for about 15
to 25 minutes. You will see the sap has formed a glaze on the sides of the
cone and they will be hard. NOTE: do not leave the oven unattended.
Super dry pine cones tend to smoke and may cause a fire.
- Place baked cones on a
cooling tray or basket and let them sit for a few days. They will
continue to expand and open up.
A NOTE about the baking method: Baking the
cones will immediately kill all bugs (which is my favorite method because I
don't have to see them or touch them) . This method will also form a
glaze from the sap on your cones so you will not have to glaze them later on,
if you so choose. Baking the cones will cause the your house to have a
strong scent of pine, so if you not into that (which I can't imagine if you are
working with pine cones) you might want stick with the soaking method.
The soaking method will also not produce a glaze look since you are
washing off all the sap.
The third method is bleaching...I don't use that because I
prefer not keep harsh chemicals in my house, if I can help it but from what I
understand it will bleach the cones white for those winter decor options you
may have in mind.
Bleaching method:
- Make a mixture of 50/50
water and bleach in a bucket.
- Place your pine cones in the
solution.
- Let them sit in the solution
for up to 8 hours (which is why I said to use a bucket because I can't have my sink
occupied for 8 hours with pine cones...think kids).
- Drain from the solution, lay them on a tray in a single layer in the sun to dry.
Note: The bleach will debug the cones and clean off the sap.
If you wish to preserve your pine cones, you can lightly spray
them with clear acrylic, polyurethane, or varnish. However if you are
thinking of returning them back to nature, after you are done with them, it is
best to leave them be.
 |
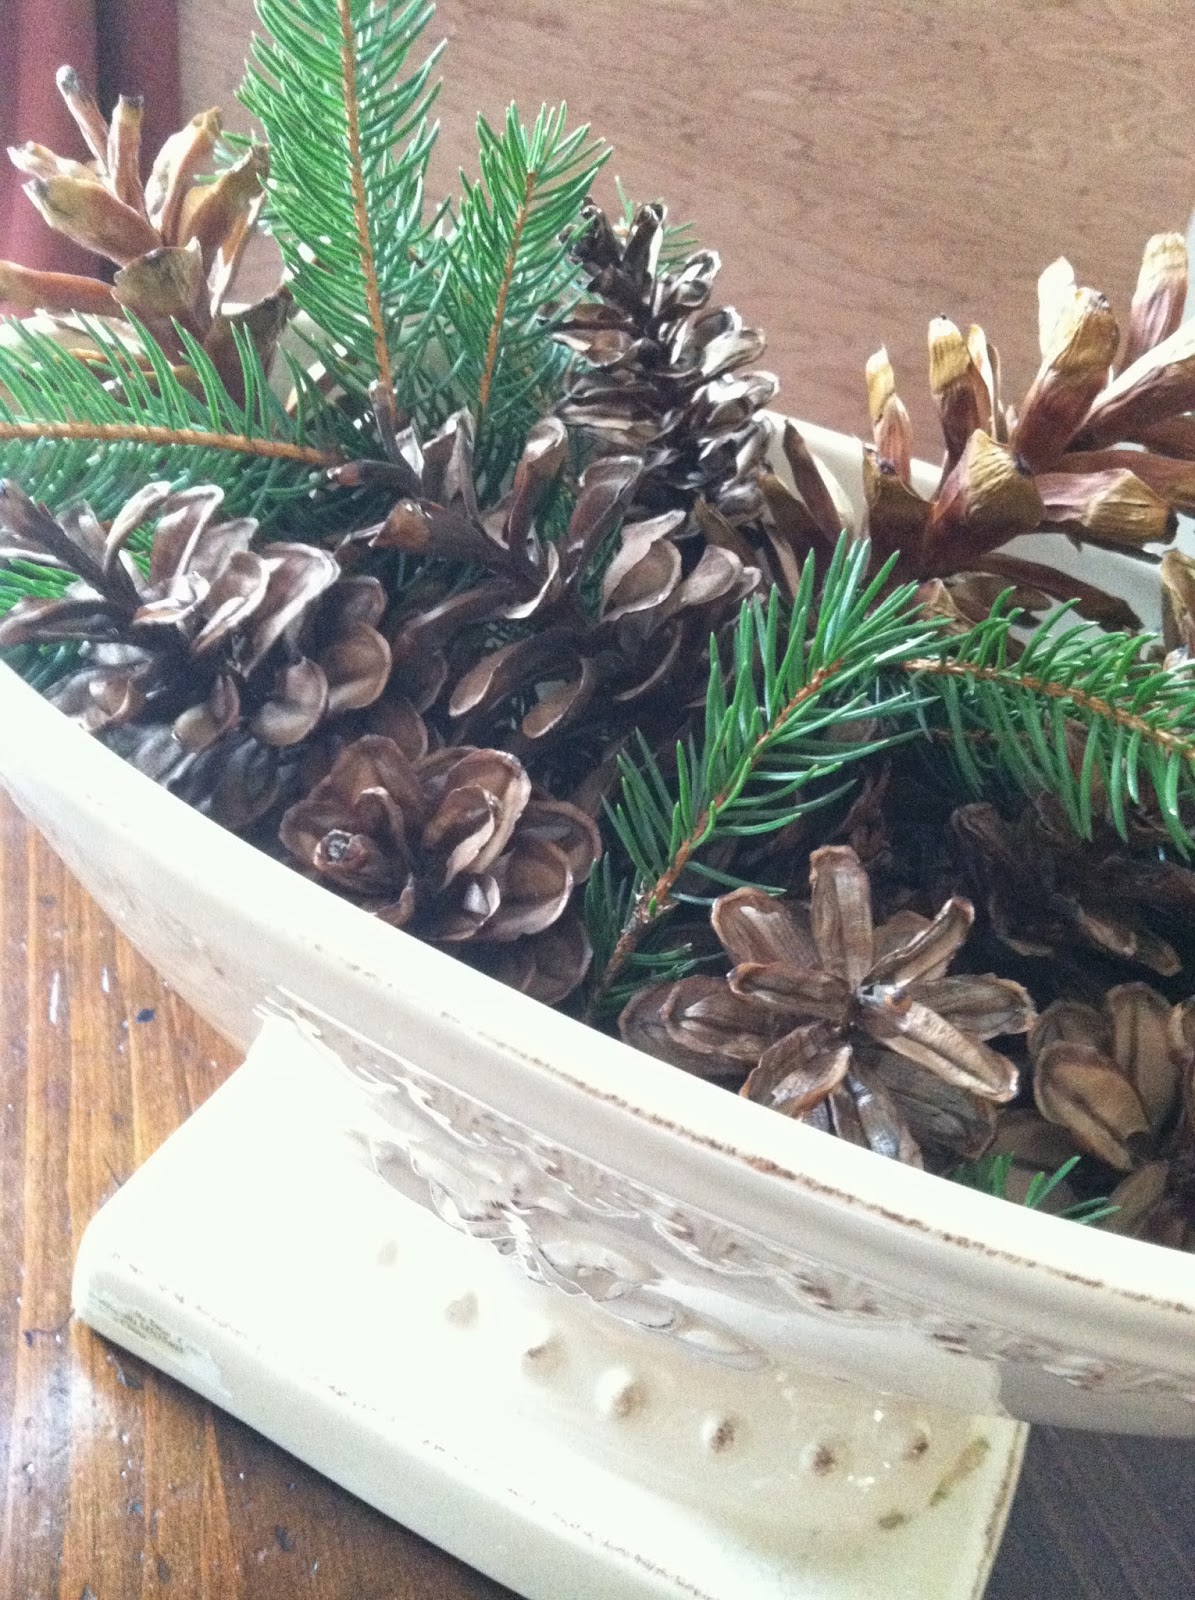
| Here's one pine cone that is holiday ready! (unbleached) |
Okay so now that my pine cones are prepped and ready, I can't
wait to get to crafting for the holidays. What is your favorite use of
the pine cones during the holiday season? Thanks for stopping by and
don't forget to leave me your comments and share the post.

